---
description: Showcase your products with dynamic real-time 3D visualization
---
# Product Viewer
On all subscription plans, the platform allows users to generate 3D visualizations without including a configurator. The viewer is for presentation purposes only and can be embedded anywhere that supports HTML code. You can embed a 3D viewer in a web page or slider, in a powerpoint presentation or using the API in a third party application.
A 3D viewer is created in the **Products** section by clicking the blue "Add Product" button located in the top right of the screen.
Click 'Add Product' button to create a 3D viewer
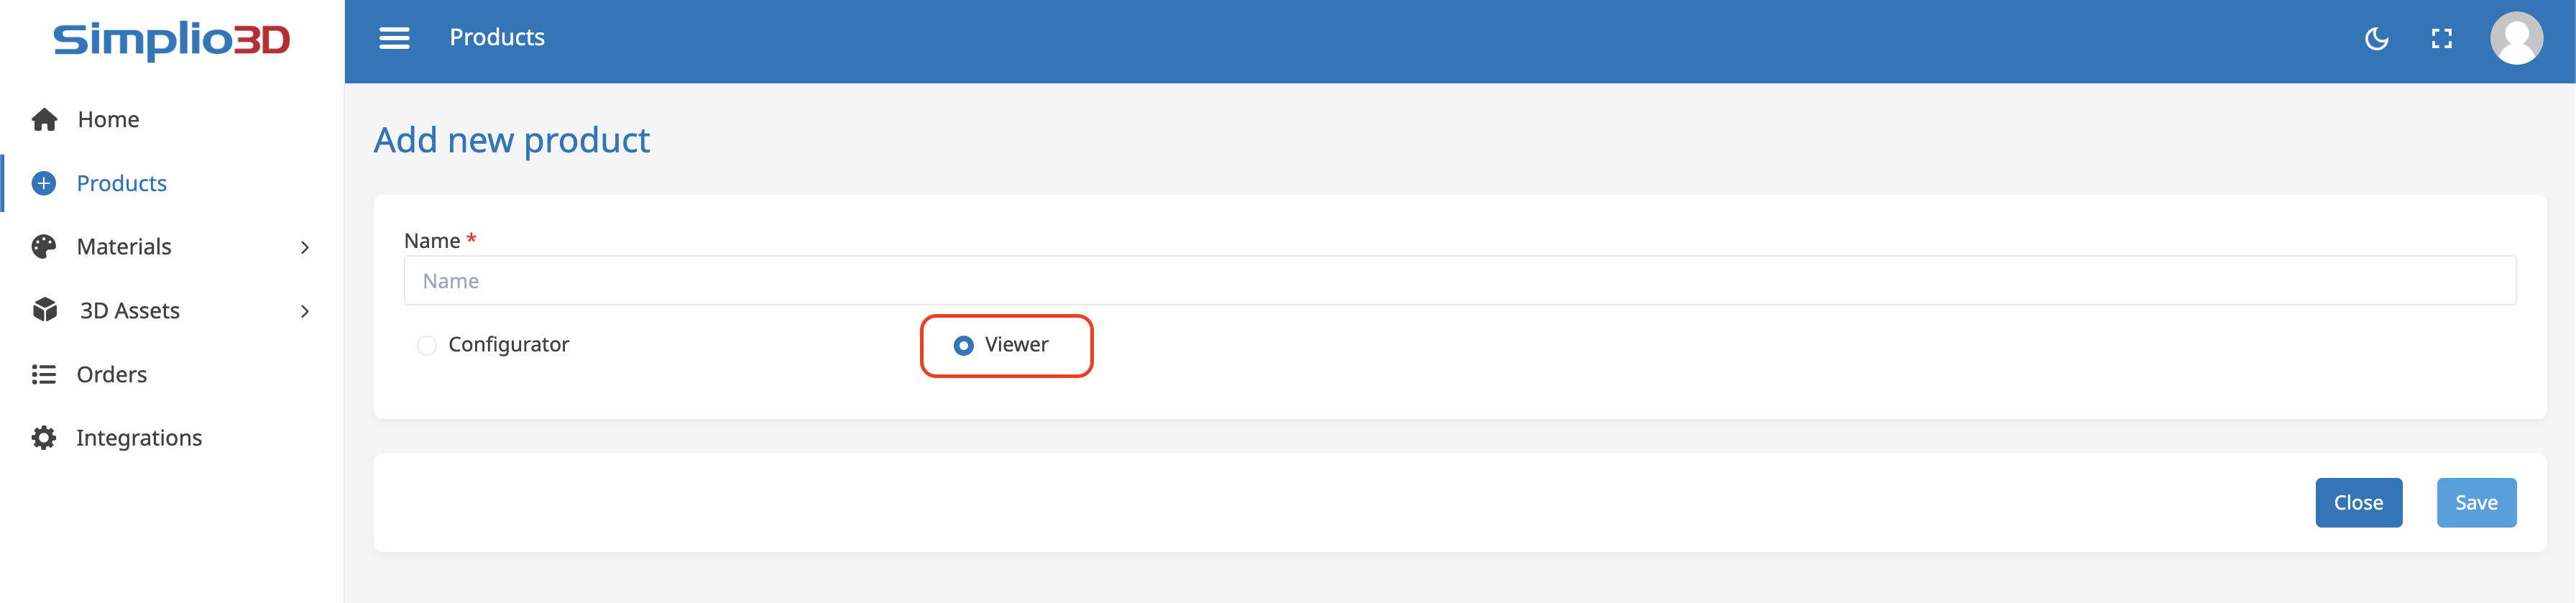
This time, after clicking "Add Product", we no longer keep the "Configurator" product type selected, but switch to the "Viewer" product type, as shown in the screenshot below.
Select 'Viewer' type of product
Once we clicked "Save", we created the 3d viewer and we can edit it as we need. All views are defined in 4 steps: selecting the layout, adding a 3D model, applying materials to the 3D model and the share section where we copy the HTML code or source link.
Select Layout
**Select Layout** - here we select the position of the toolbar and the viewport.
Add 3D Models
**Add 3D Models** - select the 3D model to be used in the viewer.
Apply materials
**Create Options** - here we can use the "Default" block to apply materials to a 3D model just like when we apply materials for [configurators](create-options/default). If your 3D model already has materials applied, you can leave this step blank.
Share
**Share** - each viewer generates a unique HTML code that you can copy/paste anywhere you want on a web page.
In the Share tab, you can also enable/disable the following in the 3D viewer: **dark theme**, **sidebar**, and **AR mode**.